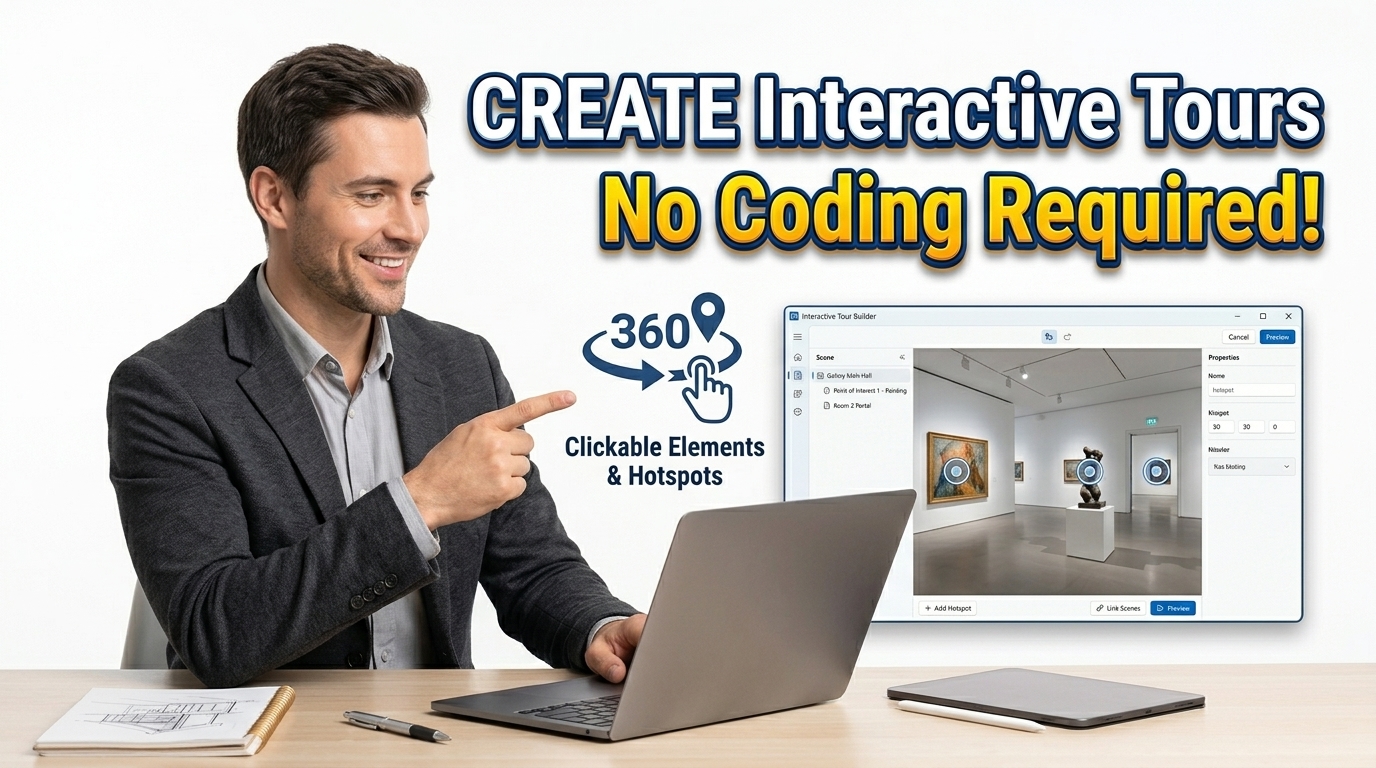
Guide Every User Step-by-Step — Create seamless interactive tours and product walkthroughs effortlessly.
Build lightning-fast interactive website tours with the ultimate interactive tour builder. Paste any HTML, auto-detect elements, live preview, drag-and-drop steps, and export 100% self-contained production code. Perfect for SaaS onboarding, e-commerce demos, and premium conversions.

Table of Contents
Want to walk new users through your app without writing a tutorial from scratch? Define the steps, the target elements, and the tooltips, and get a guided walkthrough you can drop into your site. Good for onboarding flows and pointing out a new feature.
🎯 Tour & Onboarding Studio
Build product tours, hotspots and onboarding checklists, test them against your own markup, then export ready-to-paste code.
Paste the HTML of the page you are building a tour for. Only the markup matters — scripts are stripped before anything is rendered.
Paste markup above and press Render stage.
Render your markup on the Build tab first.
| # | Selector | Matches | Verdict |
|---|
A small pulsing marker anchored to an element. Click reveals the tip. Good for features people would otherwise never find.
Writing a tour people finish
Five steps is a sensible ceiling. Past that, completion falls off sharply — people came to do a job, not to read a manual, and every extra step is another chance to press Exit.
Point at controls that are genuinely hard to find. A tour step over a button labelled Save teaches nobody anything; a step over the setting buried three menus deep earns its interruption.
data-tour="upload" over a class name. Classes get renamed during a redesign and the tour breaks quietly; a data attribute exists only for this and tends to survive.Auto-detect
The detect button walks your markup for interactive elements — buttons, inputs, links with an id — and drafts a step for each. It is a starting point to edit down, not a finished tour.
Related tools
- Interactive Learning Studio — quizzes and lessons rather than UI tours
- Offline HTML Editor — build the target page itself
- Screen Recorder Studio — when a video suits better than a tour
- Responsive Website Tester — check the page under the tour
Engineered to execute entirely within the local browser runtime, bypassing HTTP request overhead.
Generated payloads consist of vanilla JavaScript and scoped CSS variables that prevent namespace collisions.
Constructed with high-performance event listeners to minimize memory leaks during continuous user interaction.
Employs HTML5 LocalStorage APIs to track completion states and manage asynchronous overlay rendering.
Paste your target HTML structure into the parsing module for rapid local analysis.
Specify exact CSS selectors to construct mathematically accurate bounding boxes.
Establish chronological progression logic using our built-in event handlers.
Generate a minified deployment block mapped to your exact specification.
Last Updated: August 2026
🔴 Four Tabs, and Why Each One Exists
Most tour builders let you write steps and hand you a JSON file. The hard parts are everywhere else: knowing whether your selectors still match after a redesign, deciding whether a tour is even the right pattern, and getting working code out at the end rather than a config file you still have to wire up.
Build — write the steps against real markup
Paste the HTML of the page you are writing a tour for, or pick one of the three samples. Press Render stage and it appears in a sandboxed panel below the editor. Scripts, iframes and inline event handlers are stripped before anything renders — you are usually pasting markup from a page you did not write, and a preview pane is no place to execute someone else’s JavaScript.
From there, three ways to create steps:
🔵 Pick element turns the cursor into a crosshair. Click anything on the stage and a selector is captured for you. It prefers an id, then a data-tour attribute, and only falls back to a structural path when neither exists.
🟠 Auto-detect walks the markup for buttons, inputs, selects and linked elements, and drafts a step for each with the element’s own label as the title. It caps at eight, because it is a starting point to cut down rather than a finished tour.
🟣 Add step by hand when you already know the selector.
Each step carries a bubble position, an advance trigger — press Next, click the element, or fill the field — and two switches worth understanding. Scroll into view matters on long pages. Skip if the element is missing is what you want for a step pointing at something that only appears for some users, such as an admin-only control.
Preview & Test — where tours actually break
Run the tour at mobile, tablet or full width. This is not decoration. A bubble set to appear to the right of an element looks correct on a desktop and falls straight off a 380 pixel screen, and that is the single most common way a tour ships broken.
The selector health table underneath is the part worth running before every release. It reports three states:
🔵 Good — the selector matches exactly one element.
🟠 Ambiguous — it matches several. The tour will highlight the first one, which is not always the one you meant. A selector like .card .title looks specific and matches nine elements on a listing page.
🟣 No match — the step will be skipped in silence. Nothing is logged, no error appears, and the tour looks like it worked while quietly missing a step.
That last case is why the check exists. A broken tour does not announce itself.
Hotspots & Checklists — for people who already dismissed the tour
A tour suits a first session and almost nothing after it. Someone who has already pressed Skip once will press it faster the second time. Three quieter patterns work better for returning users:
Hotspots are pulsing markers anchored to an element. They wait to be noticed instead of demanding attention, which makes them right for a feature that is genuinely useful but not urgent.
Checklists work because progress is visible and resumable. Three of five done is a much stronger pull than a tour that has to be restarted from step one. Tick items in the editor and the preview widget updates as you go.
Announcement banners are for one job only: something changed. One sentence, and let people close it for good.
Export & Embed — working code, not a config file
Five formats. JSON is the definition alone, for when you already have a tour library. Standalone JavaScript is self-contained — markup, styles and logic in one file with no dependencies — and is the one most people want. React and Vue 3 come out as components with the steps inlined. WordPress gives you a shortcode function to drop in a snippet plugin.
Two options change what the export contains. Analytics hooks fire a custom DOM event on every step shown, completed or skipped, and push the same to dataLayer if one exists — the step people quit on tells you which part of your product is confusing far better than a completion rate does. Remember dismissal writes a flag to local storage so a returning visitor is not shown the tour again.
The generated JavaScript is plain ES5, keeps the bubble on screen when an element sits near an edge, repositions on resize, and supports Escape to quit plus arrow keys to move. Paste it before the closing body tag and it runs.
🟡 Mistakes Worth Avoiding
Building the tour on class names
This is the one that costs people real time. A selector such as .btn-primary.large works perfectly until a designer renames a utility class, and then the tour breaks with no error anywhere. Add a dedicated attribute to the elements you point at:
<button data-tour="upload">Upload file</button>
and target [data-tour="upload"]. The attribute exists for exactly this purpose, so nobody removes it during a redesign. The picker in this tool already prefers it when one is present.
Making the tour too long
Five steps is a sensible ceiling. Past that, completion drops sharply — people arrived to do something, not to read a manual, and every additional step is another chance to press Skip. If you genuinely have twelve things to explain, a checklist is the right pattern, not a longer tour.
Explaining the obvious
A step over a button labelled Save teaches nobody anything and spends the goodwill you needed for the step that mattered. Point at the setting buried three menus deep, the field whose format is not obvious, the feature nobody finds. Those earn the interruption.
Never testing on a phone
Covered above, but it bears repeating because it is so common. Run every tour at mobile width before shipping. If a bubble is positioned left or right of an element, check it especially carefully.
🟢 Honest Limits
The stage is a static preview. Pasted scripts are stripped, so a step whose selector only exists after a modal opens or a tab is clicked cannot be tested here — check that one on the real page.
The selector health check only knows about the markup you pasted. If your live page differs, the check will pass while the tour still breaks. Paste the current markup, not last month’s.
Auto-detect stops at eight steps and reads element text for titles, so a button whose label is an icon gets a poor title. Edit them.
Everything is held in the page while you work. There is no account and nothing is saved to a server, which means a refresh loses your tour — export the JSON before you close the tab. You can import it back from the Export tab whenever you need it.
🔴 Going Deeper
If you want to know why spotlight overlays are built the way they are, how element positions are calculated, and what the research actually says about onboarding completion, the companion piece covers it: how product tours work under the hood.
To build or edit the page the tour runs on, the Offline HTML Editor is the companion tool here. The selector syntax itself is documented at MDN’s querySelector reference, and Nielsen Norman Group’s research on onboarding tutorials is worth reading before you write the first step.
❓ Frequently Asked Questions
Is my markup uploaded anywhere?
No. Everything runs in your browser. Open DevTools, watch the Network tab and press Render — no request carries what you pasted, because none is made.
Do I need a JavaScript library to use the export?
Not for the standalone export. It is one self-contained file with its own styles and no dependencies. The React and Vue exports need only their own framework.
What is the best kind of selector to use?
A dedicated data-tour attribute on the target element. Class names get renamed in redesigns and the tour breaks silently; an attribute added for this purpose survives.
How many steps should a tour have?
Five or fewer. Completion falls off sharply beyond that. If you have more to say, use a checklist people can return to rather than a longer tour.
What happens if an element is missing when the tour runs?
The step is skipped and the tour continues. Tick “skip if missing” for steps that are genuinely optional, and run the health check for the ones that are not.
Can I test a step that only appears after a click?
Not on the stage, which is a static preview with scripts stripped. Export the tour and test that step on the real page instead.
Will my work survive a page refresh?
No. Nothing is stored on a server and nothing persists between sessions. Export the JSON before closing the tab, and import it back when you return.
What do the analytics hooks send?
Nothing on their own. They fire a DOM event with the action and step number, and push to dataLayer if present, so your existing analytics can pick it up.
Can I edit an exported tour later?
Yes. Export as JSON, keep the file, and paste it into the import box on the Export tab whenever you want to change the steps and re-export.